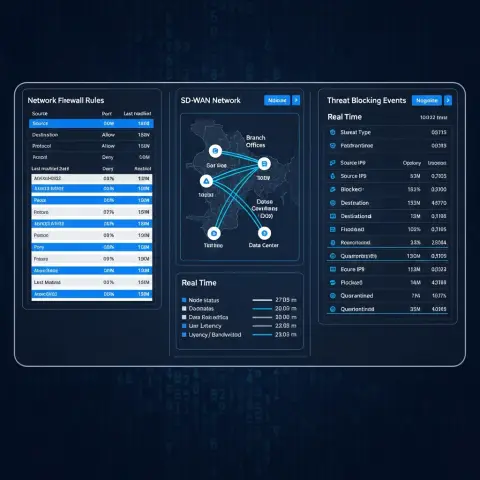
Anti-Bot / ANG WAF
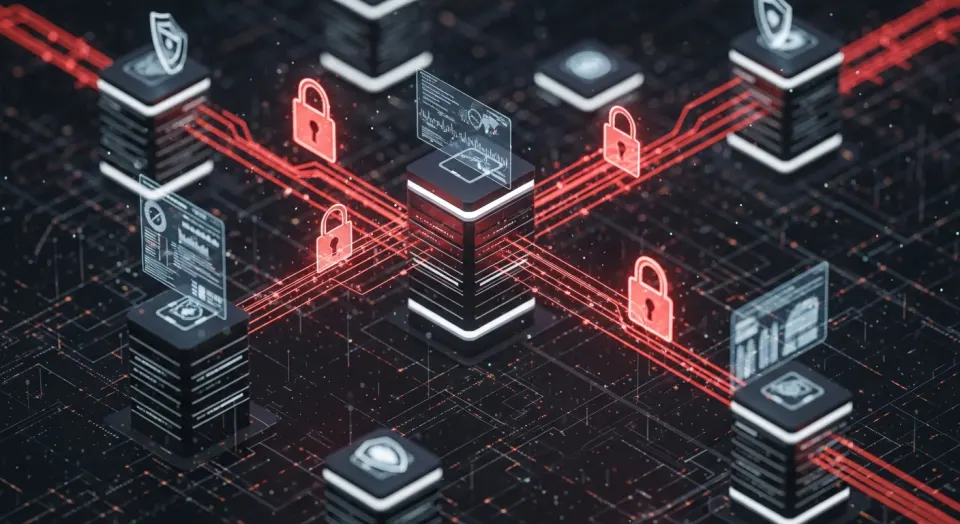
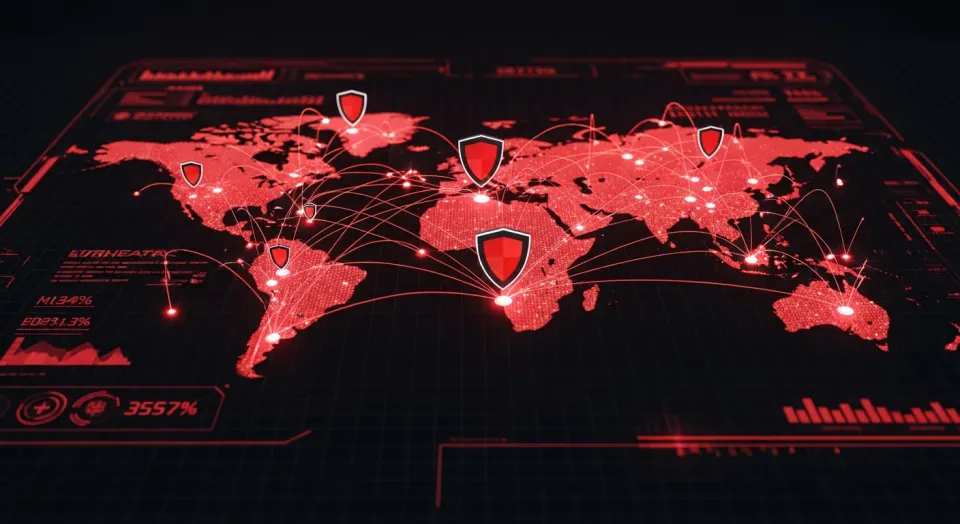
Anti-Bot & WAF Defense
OWASP Top 10 · Bot Mitigation · Zero-Day · API Security
RAccess uses advanced AI to protect against sophisticated bot attacks and the full spectrum of OWASP vulnerabilities. Ensure application integrity with zero-installation and adaptive learning.
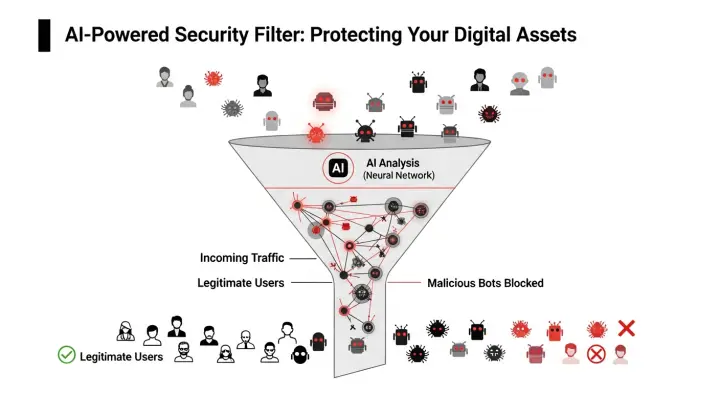
AI Bot Filtering
Neural network analysis distinguishes users, crawlers, and malicious bots in real time.
- Behavioral biometric analysis
- Device fingerprinting & reputation
- Mitigation of scraping & stuffing
OWASP Top 10
Comprehensive protection against critical web application risks.
- SQLi & XSS prevention
- Broken access control & crypto failures
- SSRF protection
Zero-Day Defense
Proactive blocking before traditional signatures exist.
- ML anomaly detection
- Virtual patching
- Real-time traffic scoring